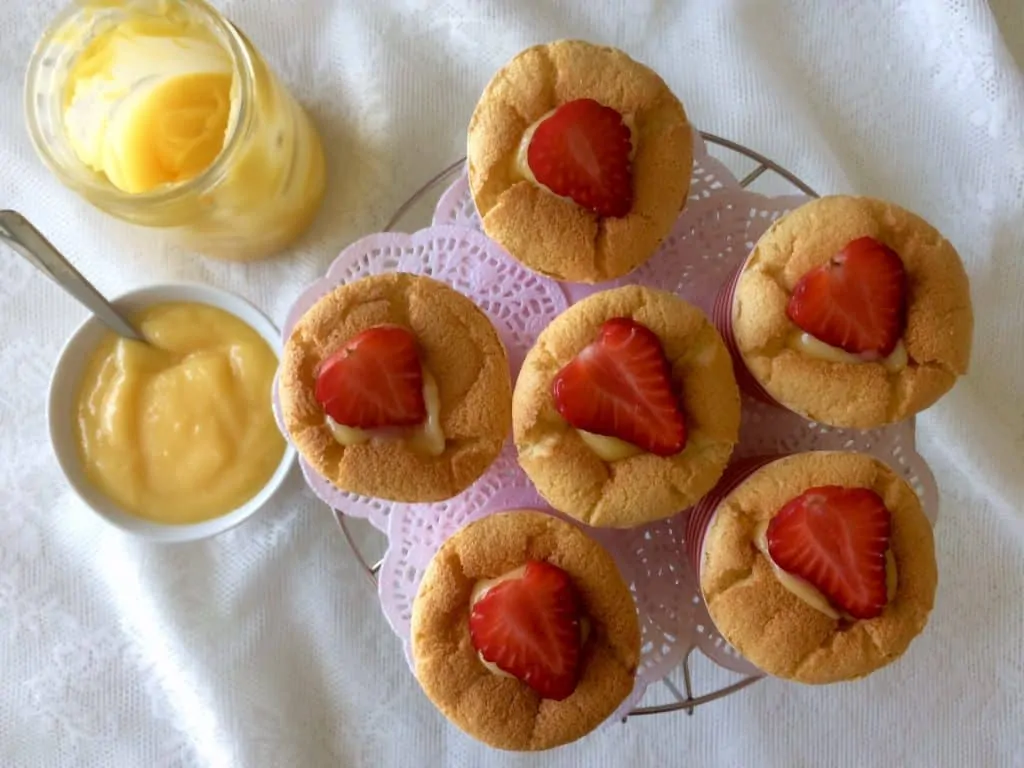
Sometimes, the mood for a dense, sweet, indulgent dessert brings us in the direction of a double chocolate dulce de leche lava cake with mascarpone cream. But after a huge meal, not everyone can stomach something so cloyingly sweet. Especially when cooking for a crowd like a family potluck per se. Realistically speaking, most elderly people aren’t the biggest fans. This is where our airy chiffon cupcake with lemon curd filling comes in. When done right, it screams “Summer Garden Party!”
Zesty and appetizing, this recipe for homemade lemon curd is foolproof and has the smoothest, most glossiest texture you can possibly find in any store-bought lemon curd. As for the chiffon, the ingredients may be standard but execution is key to achieving that fluffy crumb. Because the entire recipe calls for simple everyday ingredients, make sure they’re the very best you can get.
Choose organic, unwaxed lemons if available as a lot of zest will be used in the curd, and use high quality eggs, especially because both the curd and the batter are made primarily from eggs. That’s right, even the batter! Most baked goods use copious amounts of butter, sugar and flour but you’d be taken aback by how little of those we’ll need for this recipe. Lastly, use cake flour as it has a lower protein content, which therefore has less gluten and results in a a softer and fluffier crumb. The exact texture you want for these cupcakes.

“Light-as-Air” Chiffon Cupcakes with Zesty Lemon Curd
Ingredients
(Lemon Curd)
- 3 whole eggs
- 2 egg yolks
- 200 grams of sugar
- 140 grams freshly squeezed lemon juice about 3 lemons worth
- The zest of 3 lemons
- 70 grams of butter
(Chiffon Cupcake)
- 3 eggs whites and yolks separated
- 60 grams of caster sugar 40g set aside for the meringue
- 40 ml vegetable oil
- 40 ml full-fat milk
- 60 grams of cake flour
Instructions
-
Whisk together the eggs and caster sugar.
-
Squeeze and zest three whole lemons.
-
Combine and whisk together over low heat.
-
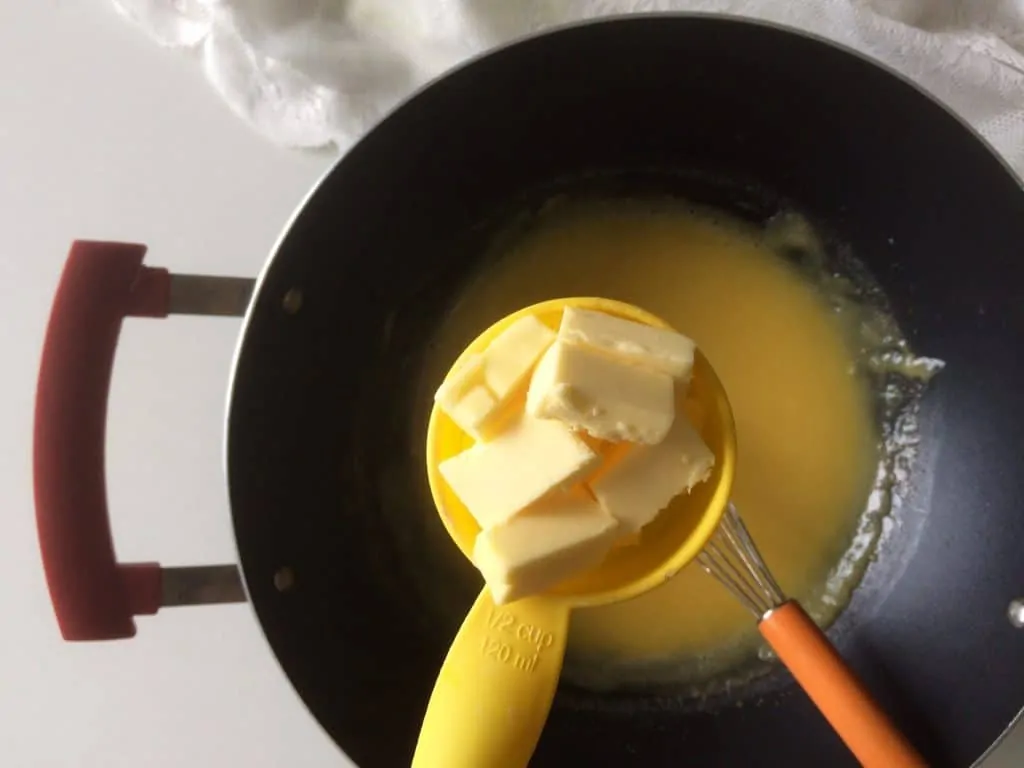
Remove from heat and add cold butter cubes.
-
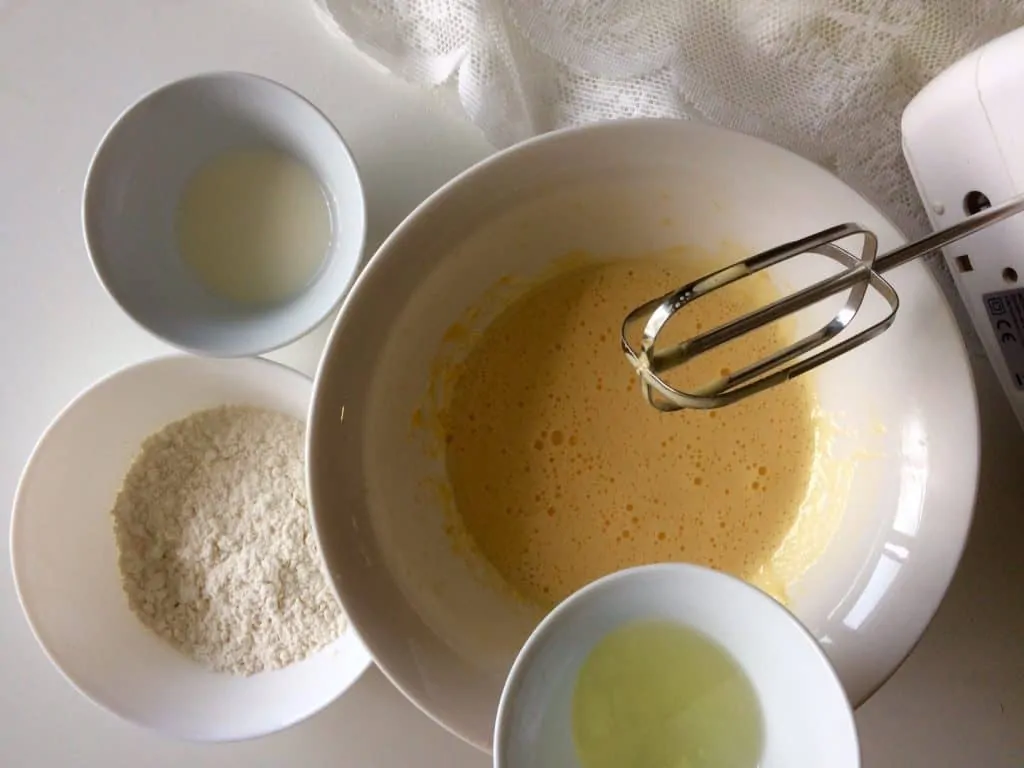
Beat egg yolks with sugar until pale, then add in milk, oil and flour.
-
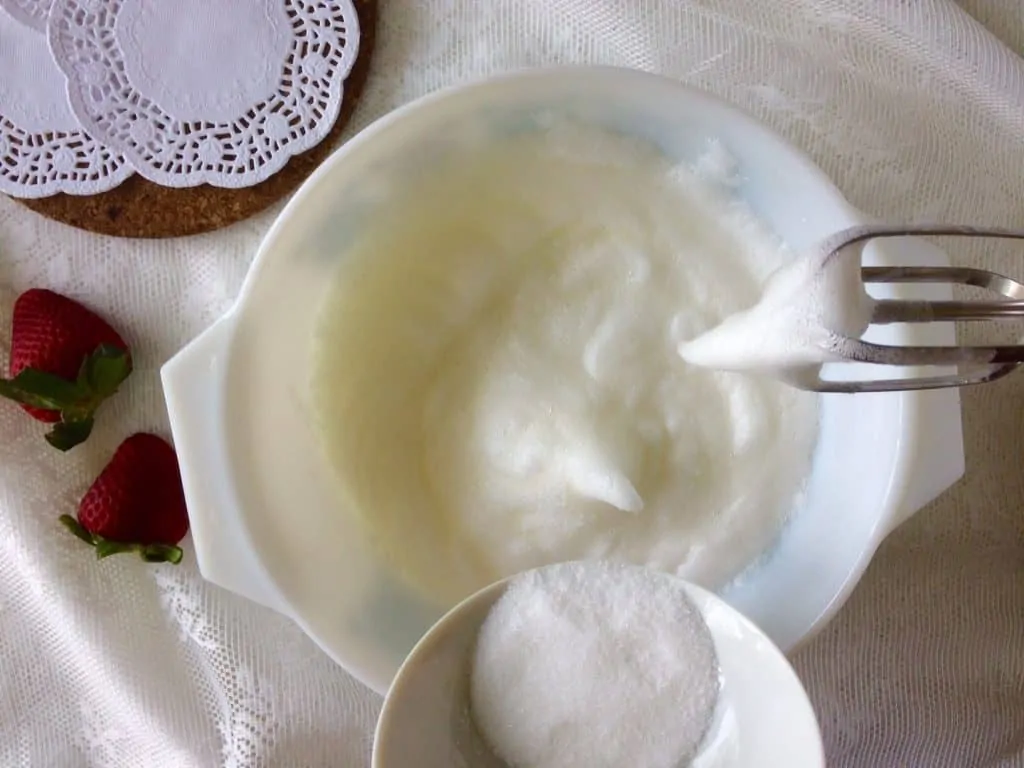
Beat egg whites until soft peaks form, then add sugar.
-
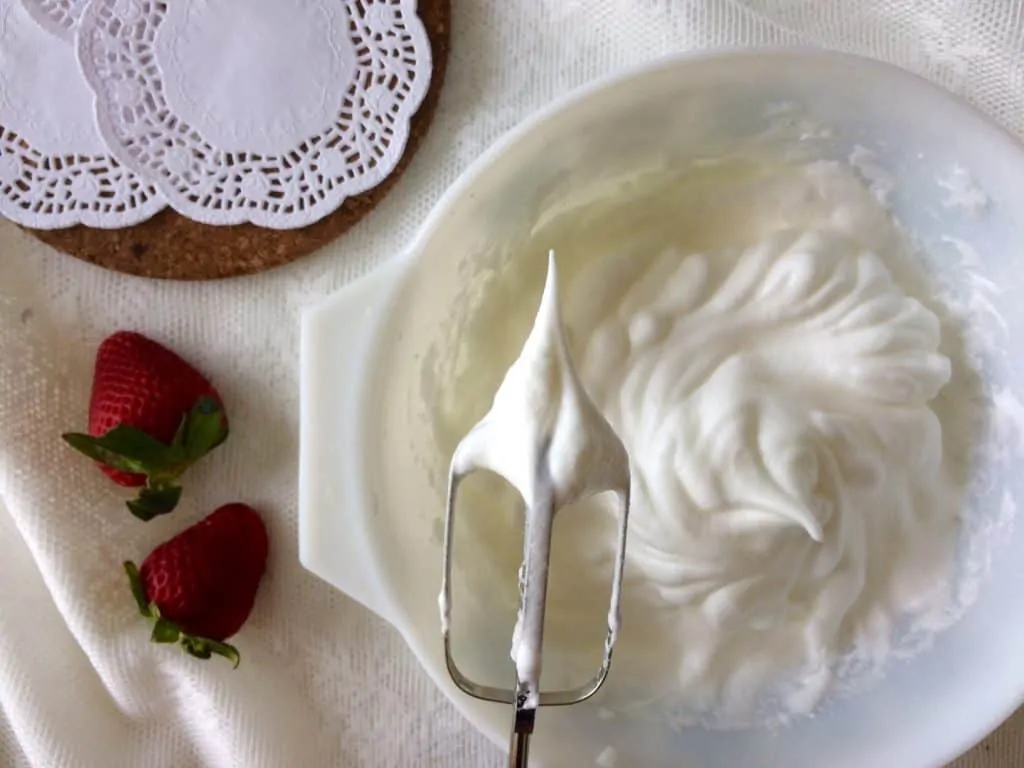
Beat until stiff peaks form.
-
Fold the meringue into the batter.
-
Pour into muffin cups and bake at 170 degrees celsius for 20 minutes or until golden brown.
-
Let cool and pipe in the lemon curd.
-
Garnish with berries or icing sugar and chill before serving.
STEP ONE – MAKE LEMON CURD FILLING
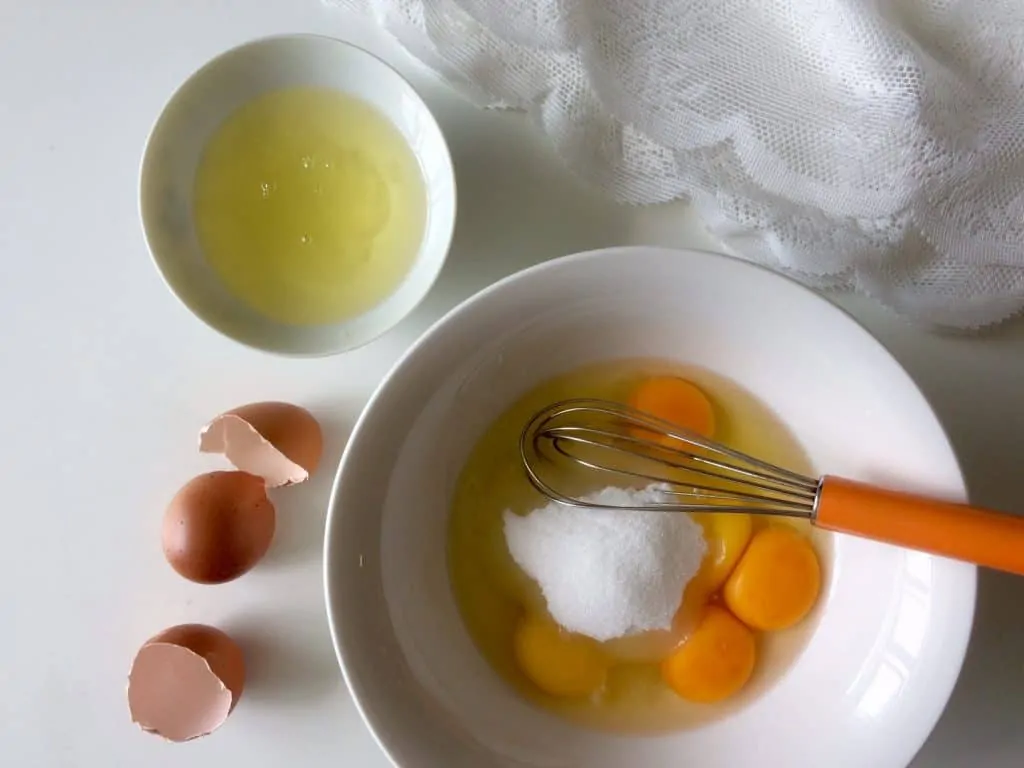
Because we’re making lemon curd from scratch, prepare it either the day beforehand or right before you start on the cupcakes as it needs time to chill. Crack 3 whole eggs and 2 egg yolks into a large bowl. (I reserved the whites for the next day’s breakfast!) Measure out the caster sugar and whip it together with the eggs just until it’s well combined.
STEP TWO – SQUEEZE AND ZEST THREE WHOLE LEMONS
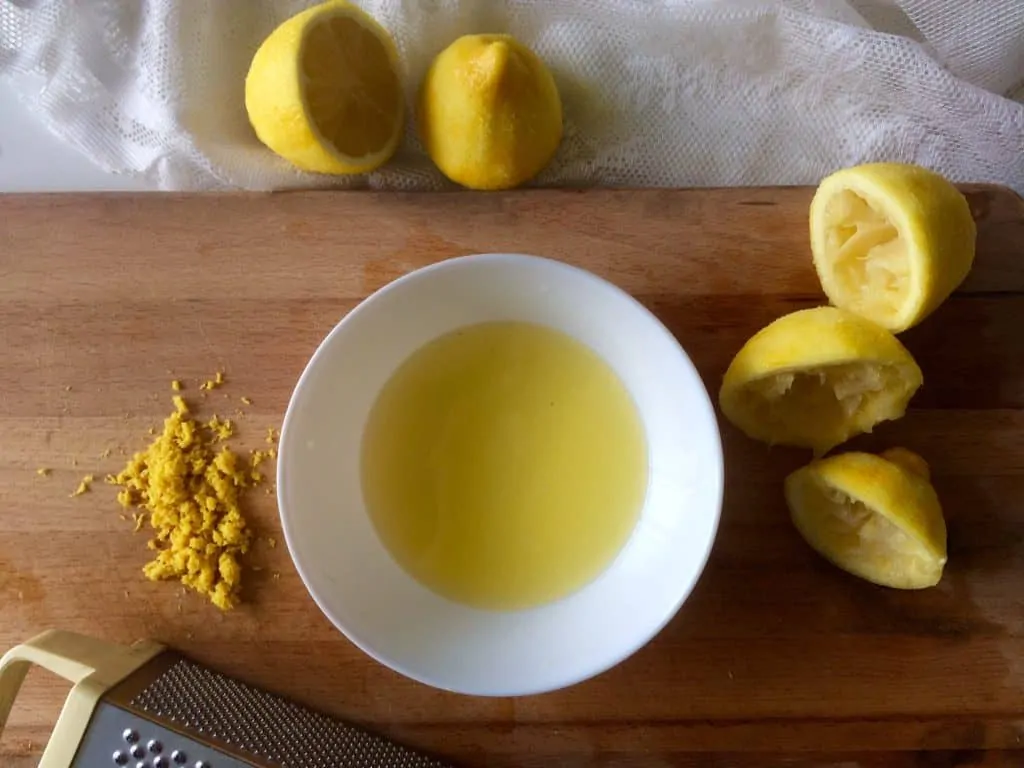
Wash the lemons well and pat dry. Squeeze the juice from the lemons and finely zest them, taking extra care not to zest the bitter white pith as well. KITCHEN TIP: You can easily juice the lemons by rolling them on the countertop using your bodyweight to loosen up the fibres, cutting them in half and twisting the lemons around a fork to help obtain all the juice. Reserve the squeezed lemons for lemon water if you’d like.
STEP THREE – WHISK OVER LOW HEAT
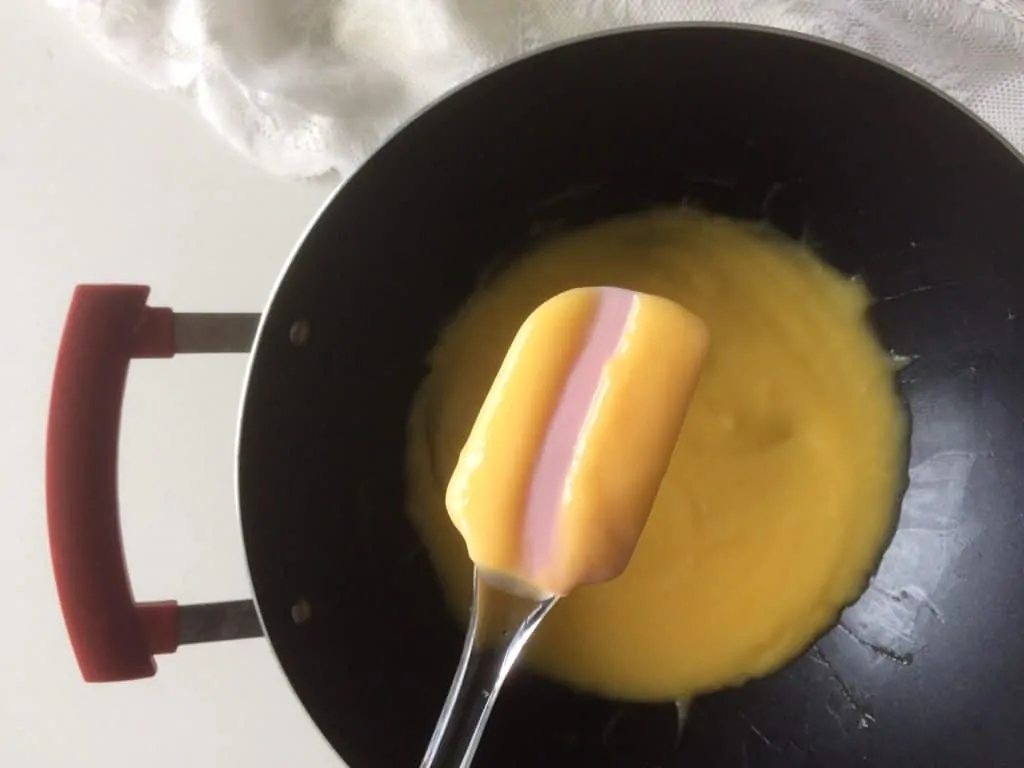
Combine the juice, zest and egg mixture into a pot. Make sure you put the pot on the stove before turning on the heat as a preheated stove will almost immediately curdle the eggs, essentially making your lemon curd into lemon scramble. On a low heat, whisk the mixture constantly, never stepping away from the pot. After 5 minutes or so, it will start to thicken considerably. You’ll know it’s ready once you can run a finger through the flat surface of your spoon/spatula and it maintains its shape.
STEP FOUR – REMOVE FROM HEAT AND ADD BUTTER
Immediately remove from the heat and place the butter in. Use cold cubes of butter as it will help to stop the residual heat from the pan to continue cooking the curd. The butter will make the curd turn much glossier and smoother than it was before. Once all the butter is dissolved, simply let cool and store in a jar. Refrigerate before use. It will thicken even more once given overnight or so to cool but because we’re using it as a cupcake filling, it can be used as soon as its cooled down and isn’t hot anymore.
STEP FIVE – PREPARE EGG YOLK BATTER
While the curd is chilling in the fridge, we can get on with our cupcakes. Begin by separating the yolks from the whites, ensuring not a single drop of yolk gets into the whites as it will interfere with the formation of the meringue later. Add 20g of sugar into the yolks and whip until doubled in size and pale yellow in color. Slowly pour in the oil and milk while whisking in between before sieving in the cake flour and folding with a spatula. Set aside while we make the meringue.
STEP SIX – MAKE MERINGUE
Now, this is the crucial step to the final result. Similarly, make sure the bowl and mixer used is clean, dry and contains no oil or fat on its surface as well as ensuring no yolk is present in the whites. Room temperature egg whites will also whip up faster than cold just-out-the-fridge ones. Using a handheld mixer or stand mixer, (whip by hand if you’d like but the last time I tried, my forearm nearly fell off in the futile attempt!) whip the whites until soft peaks form, just like as pictured above, still foamy and doesn’t make a stiff peak on the whisk when lifted straight up. Then add in the caster sugar and continue whipping. Check out our review on the best stand mixer on the market!
STEP SEVEN – WHIP UNTIL STIFF PEAKS FORM
The age-old question of exactly when to stop beating can be a tricky one, especially if you’re new to baking. Generally, when you lift your whisk up vertically, it should stand unfalteringly straight. An even better way to test is to invert the bowl upside down for 10 seconds and it shouldn’t fall out. At this point, refrain from whipping it any longer. You don’t want your meringue to be over beaten which makes it all dry and grainy.
STEP EIGHT – FOLD THE MERINGUE INTO THE BATTER
Fold in ⅓ of the meringue into the egg yolk batter first so that the rest can be incorporated in more easily. Once it’s mixed in, fold the remaining meringue in. Fold as gently as possible and stop once there are no more white streaks.
STEP NINE – BAKE AT 170 DEGREE CELSIUS
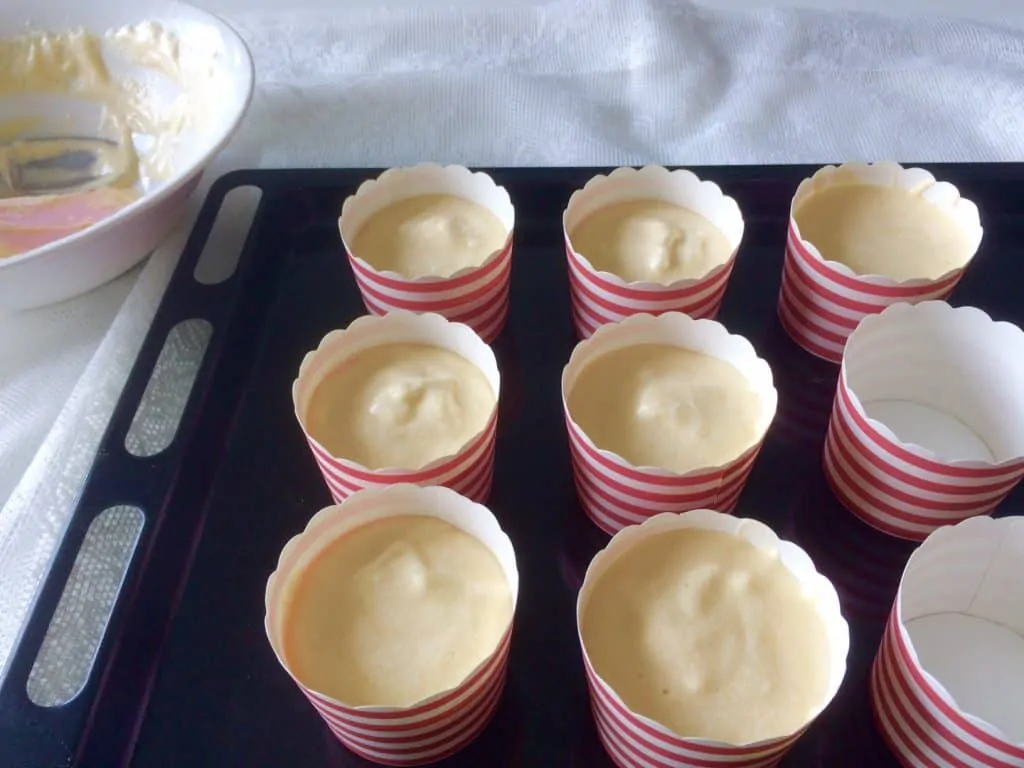
Fill your muffin liners ⅔ of the way with batter. I prefer mine larger with a higher peak so I filled ¾ instead. Generally, these chiffon cupcakes are served in these cardboard muffin liners which are larger, sturdier and can hold its own without the need for a muffin tin. This is great as it saves on the washing or if your oven is a little smaller. Plus, because our light and airy cupcakes will need to be piped with filling later, it’s preferable if they’re larger than the standard cupcake size. Bake in a preheated oven at 170 degree celsius for 20 minutes or until golden brown on top and a skewer or jam knife inserted in the middle comes out clean.
STEP TEN – LET COOL AND PIPE IN THE FILLING
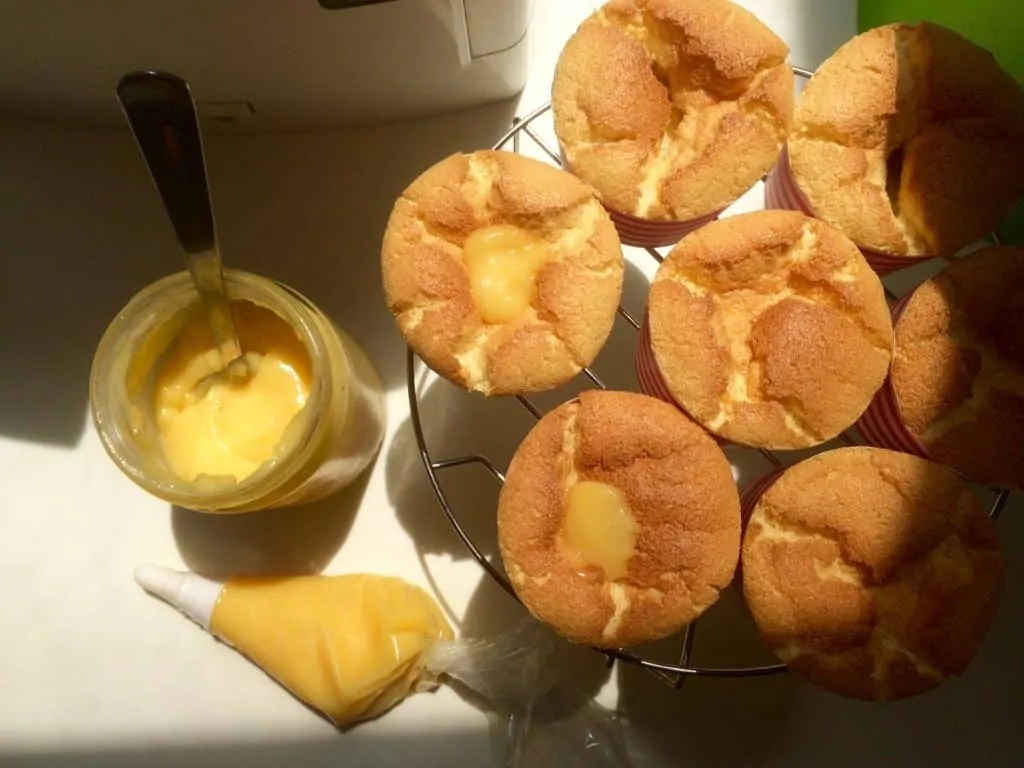
Remove from the oven and place the cupcakes on a wire rack to thoroughly cool. By now, your lemon curd should have set a little more and be chilled enough to not melt when piped inside the cupcake. Scoop the curd into a piping bag with a round nozzle, or you could simply snip off the corner as well. Using a jam knife, poke a hole in the middle of the cupcakes and pipe in enough filling until it just oozes out slightly on the top.
STEP ELEVEN – GARNISH AND CHILL BEFORE SERVING
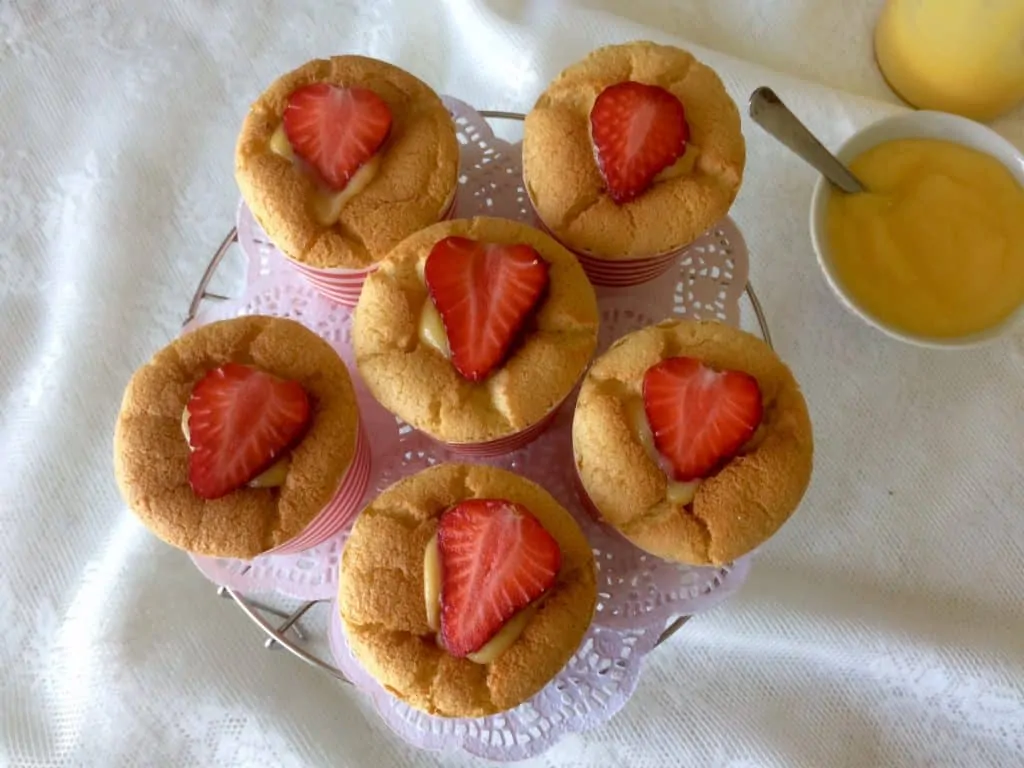
You could serve as is, with a dusting of powdered sugar over the top, or you could garnish with any fruit of your liking like I’ve done with strawberries here! If possible, refrigerate again before serving as these cupcakes are at their best when cold to the middle.
FINAL THOUGHTS
These chiffon cupcakes with lemon curd filling are always a crowd pleaser. They’re also much healthier than the average cupcake. After all, if you really break down the recipe, the main constituents are pretty much just eggs and air!
Custard cream also works very well as a filling, so use custard powder if you’re lazy or short on time. Or if you’re craving something more indulgent (but still healthier than the average pastry), then check out our gluten free fudge brownies here!
Jen Miller is a former electrical engineer and product specialist with more than 20 years of product design and testing experience. She has designed more than 200 products for Fortune 500 companies, in fields ranging from home appliances to sports gear and outdoor equipment. She founded Jen Reviews to share her knowledge and critical eye for what makes consumers tick, and adopts a strict no-BS approach to help the reader filter through the maze of products and marketing hype out there. She writes regularly and has been featured on Forbes, Fast Company, The Muse, The Huffington Post, Tiny Buddha and MindBodyGreen.
